Cleaning a Catalytic Converter Without Removal: A DIY Guide
Introduction:
A clogged or dirty catalytic converter can negatively affect your vehicle’s performance and fuel efficiency. While removal and professional cleaning are common solutions, there are methods you can try at home to clean your catalytic converter without removal. In this step-by-step DIY guide, we will walk you through the process of cleaning your catalytic converter to restore its functionality. For additional resources and information about catalytic converters, visit the Catalytic System website (https://www.catalyticsystem.com).


Contents
show
Step 1: Gather the Necessary Tools and Materials
Before you begin, gather the tools and materials you will need for the cleaning process. This may include safety gloves, safety glasses, a wire brush, a high-temperature cleaner or decarbonizer, a spray bottle, and a flashlight. Ensure you have a well-ventilated area to work in and a safe location for your vehicle.
Step 2: Prepare Your Vehicle and Access the Catalytic Converter
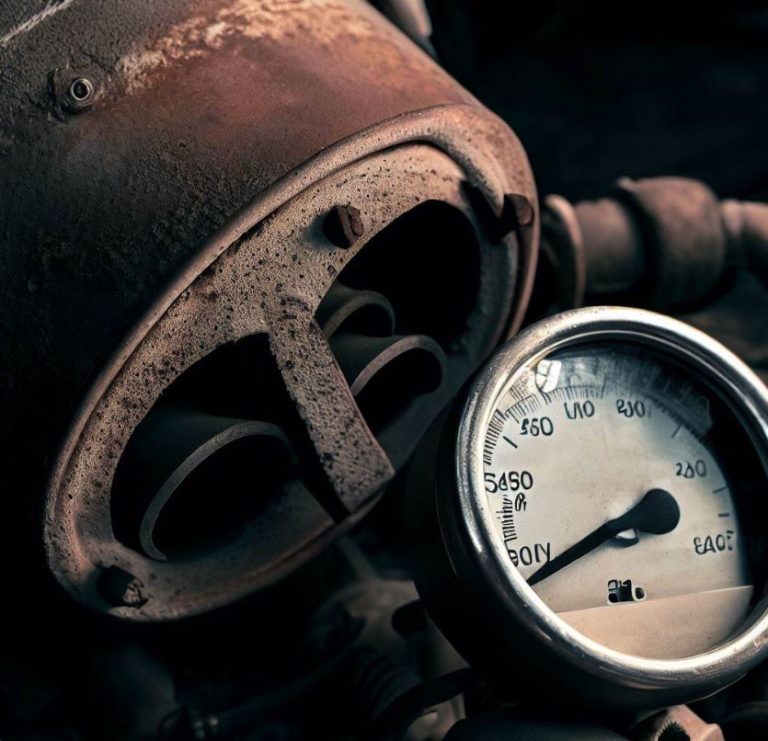
Park your vehicle on a flat surface and engage the parking brake. Allow the engine to cool down completely before proceeding. Use the flashlight to locate the catalytic converter, which is typically positioned between the exhaust manifold and the muffler. Depending on your vehicle, you may need to remove some components or access panels to reach the converter.
Step 3: Spray the High-Temperature Cleaner on the Catalytic Converter
Spray the high-temperature cleaner or decarbonizer directly onto the catalytic converter. Pay special attention to the areas with visible carbon buildup or deposits. Let the cleaner sit for a few minutes to penetrate and dissolve the carbon buildup.
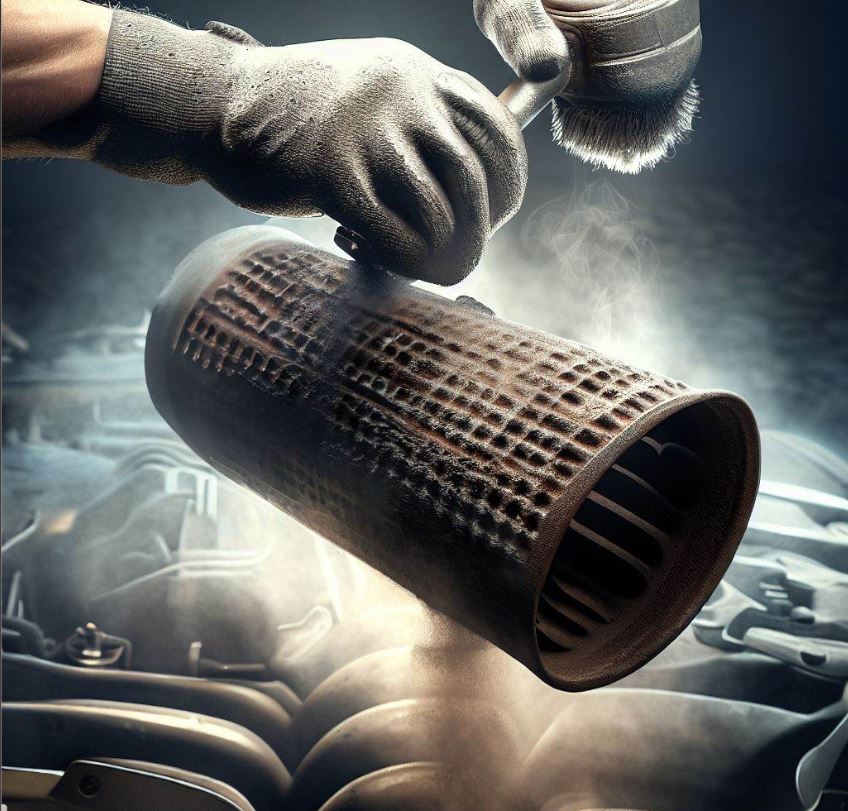
Step 4: Scrub the Catalytic Converter with a Wire Brush
After the cleaner has had time to work, use a wire brush to scrub the surface of the catalytic converter. Gently scrub in a back-and-forth motion to remove the loosened carbon deposits. Be careful not to apply excessive force or damage the delicate internal components of the converter.
Step 5: Rinse and Repeat if Necessary
Once you have scrubbed the catalytic converter, rinse it thoroughly with water to remove any remaining cleaner and loosened carbon debris. Inspect the converter to see if there are any remaining areas of heavy buildup. If necessary, repeat steps 3 and 4 to further clean those areas.
Step 6: Reassemble and Test
After cleaning the catalytic converter, reassemble any components or access panels that were removed. Start your vehicle and let it idle for a few minutes to allow the converter to dry and heat up. Take your vehicle for a test drive to evaluate its performance and check if any symptoms of a clogged converter have improved.
Conclusion
Cleaning your catalytic converter without removal can be an effective DIY solution to restore its functionality and improve your vehicle’s performance. By following the steps outlined in this guide, you can safely remove carbon buildup and debris from your converter. However, it’s important to note that severe or persistent issues may require professional cleaning or replacement. For further reading on catalytic converters, we recommend checking out the following articles:
“Cleaning a Catalytic Converter Without Removal: A DIY Guide” (https://www.catalyticsystem.com/clean-catalytic-converter)
“Maintaining a Clean Catalytic Converter: Effective Methods” (https://www.catalyticsystem.com/maintain-catalytic-converter)
Regular maintenance and cleaning can help prolong the lifespan of your catalytic converter and ensure optimal vehicle performance.

Jeffery C. Martin, an experienced engineer and passionate auto enthusiast. Founder of CatalyticSystem.com, Jeffery is committed to simplifying complex catalytic converter concepts for everyone. When not immersed in the world of automotive emission control technologies, he enjoys long drives through the countryside.
Latest posts by Jeffery C. Martin (see all)
- Upgrade Your Honda Accord with the Best Catalytic Converter for Enhanced Performance - October 30, 2023
- Boost Your Chrysler 300’s Performance with a High-Quality Catalytic Converter - October 30, 2023
- Enhance Your Jeep Liberty Performance with a Catalytic Converter - October 30, 2023